|
|
|
|
 05-22-2008, 12:00 AM
|
#1 |
|
Junior Member
Join Date: Mar 2008
Posts: 73
Likes: 0
Liked 0 Times in 0 Posts
|
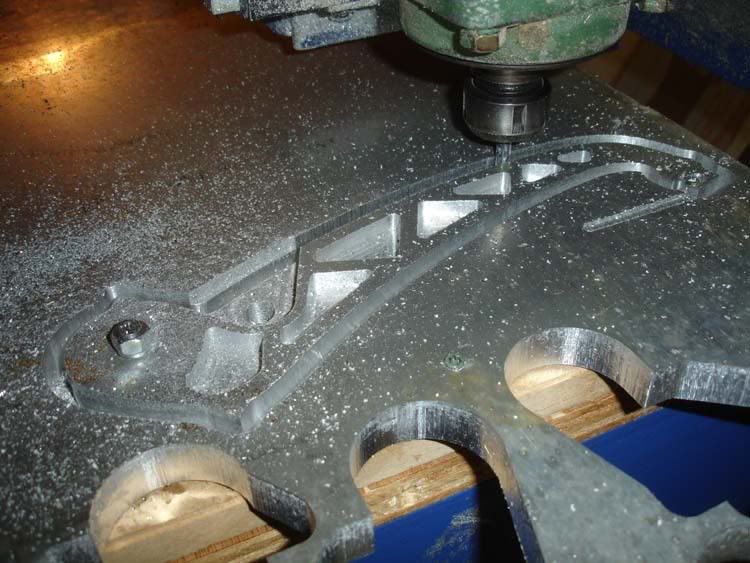
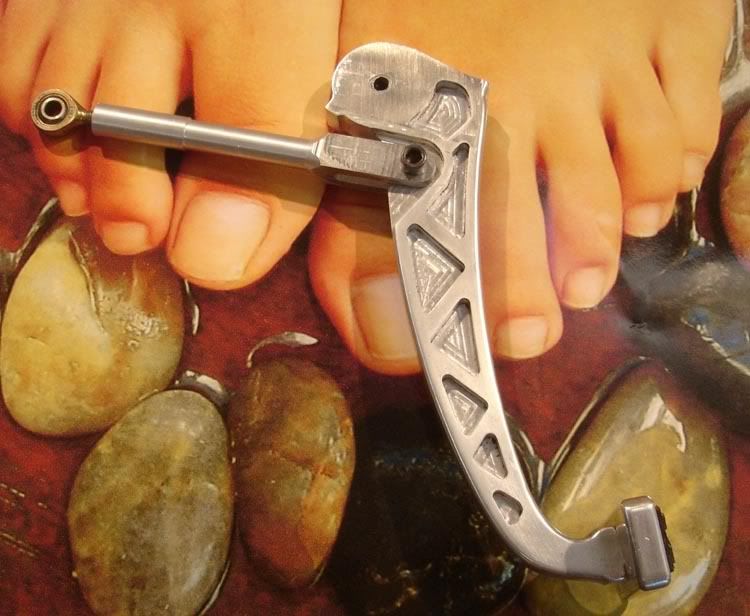
Got the brake pedal ready to go in. Rule book says it has to be covered with a non-slip surface so I cut the center out .018" and inserted a pc. of mud flap from Big "R" Hey, it works.
  :wink: :wink:
|

|

|
|
05-23-2008, 04:34 PM
|
#2 |
|
Junior Member
Join Date: Mar 2008
Posts: 73
Likes: 0
Liked 0 Times in 0 Posts
|
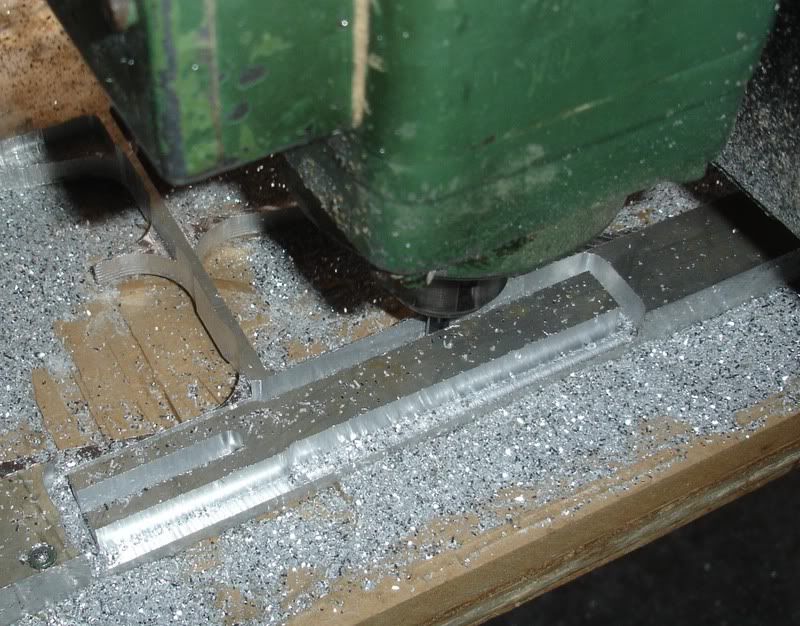
At first I wasn't going to post a pic of the clevis for the B-R-A-K-E pedal. But..... I'm workin' on a billboard for a spa today and ....well......I just couldn't resist the irony. HEHEHEHE
|
|
|
|
|
05-23-2008, 11:07 PM
|
#3 |
|
Junior Member
Join Date: Mar 2008
Posts: 73
Likes: 0
Liked 0 Times in 0 Posts
|
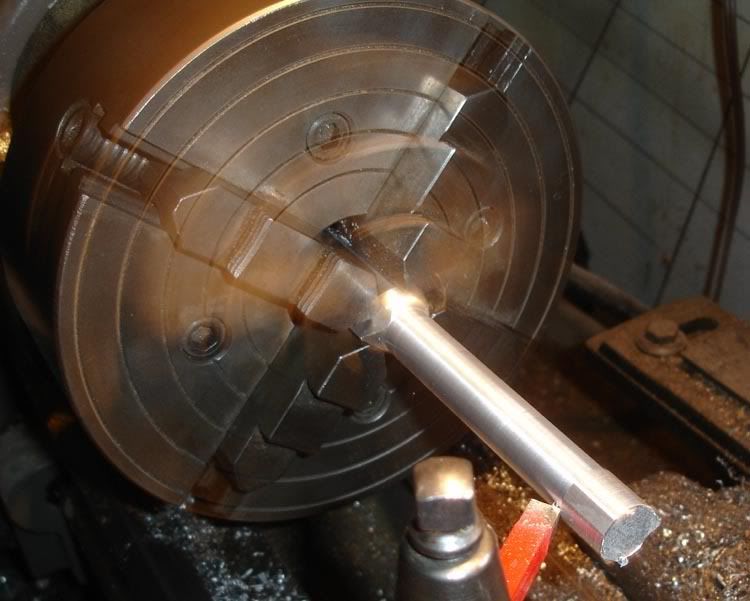
Bearing hub.

|
|
|
|
|
05-23-2008, 11:44 PM
|
#4 |
|
Junior Member

Join Date: Jun 2007
Posts: 15
Likes: 0
Liked 0 Times in 0 Posts
|
i for one, am glad to see these pics. you do good work!

|
|
|
|
|
05-24-2008, 07:46 AM
|
#5 |
|
Junior Member
Join Date: Mar 2008
Posts: 73
Likes: 0
Liked 0 Times in 0 Posts
|
Thanks Keith. I'm having fun.
|
|
|
|
|
05-26-2008, 04:44 PM
|
#6 |
|
Junior Member
Join Date: Mar 2008
Posts: 73
Likes: 0
Liked 0 Times in 0 Posts
|
Pushed the "Z" outside to clean the shop today. BUT, this time I didn't have to kick the front tires to keep it str8. I used the STEERING WHEEL. WooHoo.
BTW: I had a weak moment today. There is some spy footage in the link below. Make sure you turn up the volume before you click on the link. This doesn't happen often in the "Z" shop, so don't miss it. http://media.putfile.com/Camaro-Spy-Video-5-26-08 |
|
|
|
|
07-03-2009, 10:55 AM
|
#7 |
|
Junior Member
Join Date: Mar 2008
Posts: 73
Likes: 0
Liked 0 Times in 0 Posts
|
Well, it's another small step but I figured I better dust this thread off. The mold I made for the glove box way back when finally produced a part.
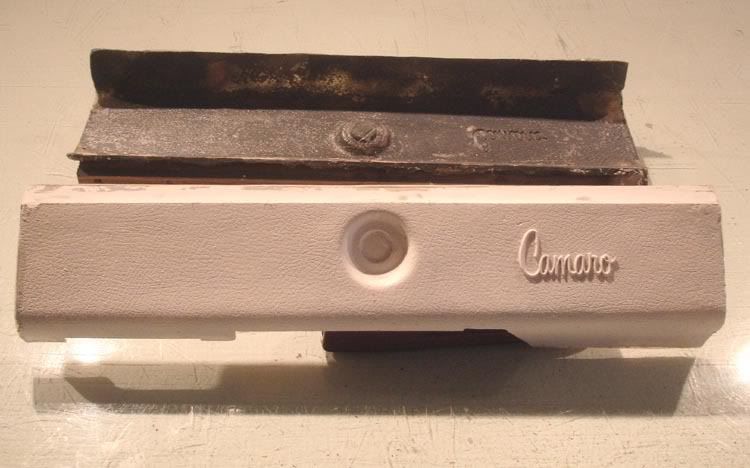 I cut the bottom of the glove box to the contour of the intercooler and glassed it in place.  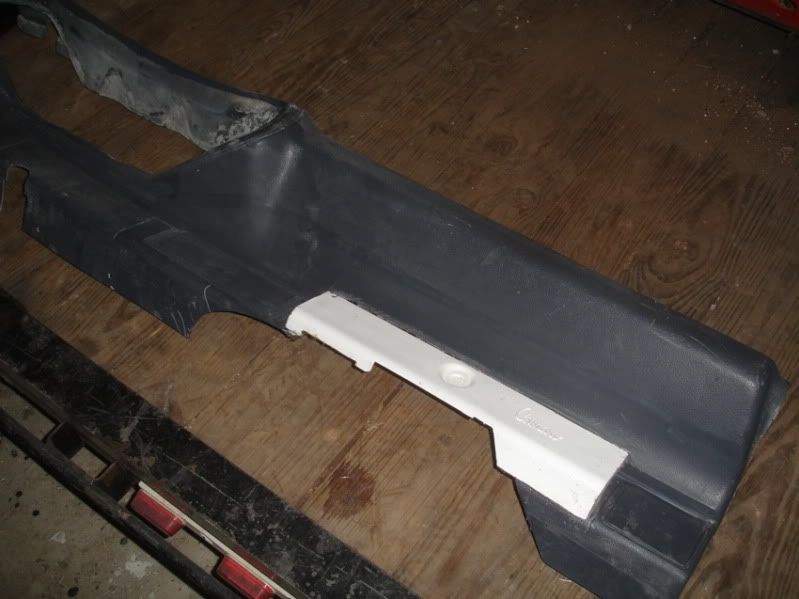 Flipped it over, cleaned up all the overlaps & danglin' tabs and gave it a couple layers of cloth to hold it together. 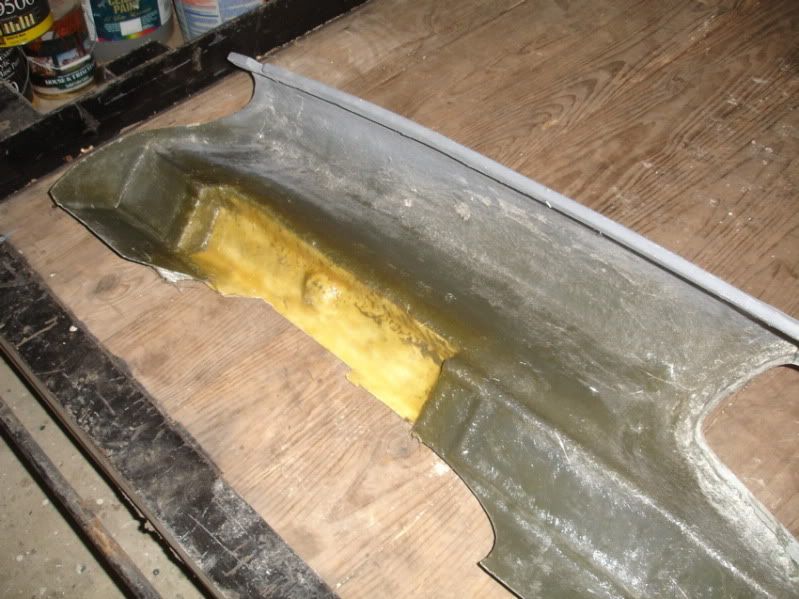 Got it roughed in to a 100 grit state & gave it a light coat of primer  I think I'm going to stop here. I'll do the finish work later when I'm ready for final paint. This little project took months (a few minutes here and there). I think I'll work on the engine compartment for my next project. I have a header tube clearance problem to address and then I'll start reconstruction of the firewall. Hopefully I can pick up the pace some on that deal..... 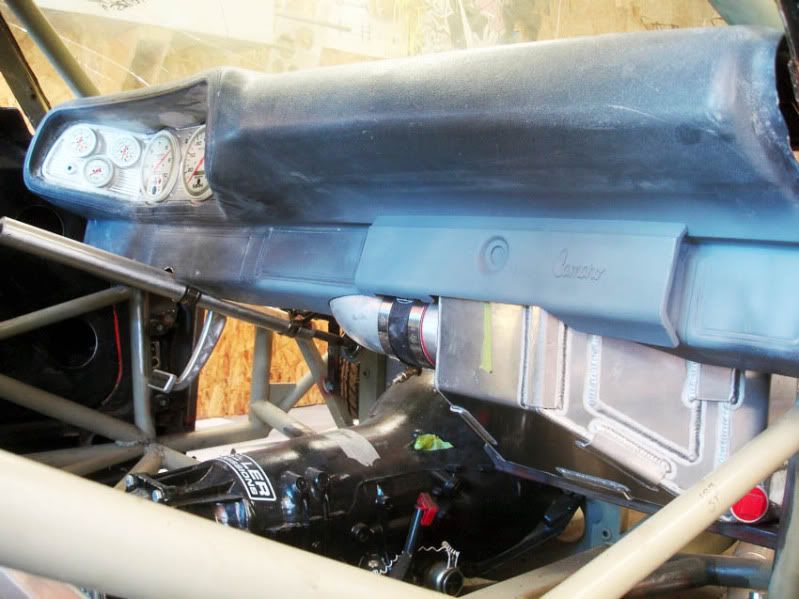 The more I LQQK at the intercooler in this pic. I'm thinking I might change the outlet tube connection to a bolt together joint instead of the hose clamp set-up. I can see that thing blowing off taking the dash with it. That might be bad for me knee & ears too. :-[ |
|
|
|
 |
|
|


 Hybrid Mode
