|
|
|
|
 06-03-2015, 10:34 PM
|
#1 |
|
Veteran Member

Join Date: Mar 2002
Location: Miles From Nowhere
Posts: 7,818
Likes: 2,907
Liked 5,125 Times in 1,953 Posts
|
Dave, You might want to consider using Aluma Lead filler in that area.
It's harder to sand and gummier on your paper, but it resists water better than regular Bondo. Not that you'll be driving in the rain, but on the burnout you know...Might not hurt. Comes in quarts too.
__________________
"We are lucky we don't get as much Government as we pay for." Will Rogers |

|

|
|
06-03-2015, 10:50 PM
|
#2 |
|
Member

Join Date: Apr 2014
Location: Mesa, AZ
Posts: 497
Likes: 162
Liked 223 Times in 73 Posts
|
I'll check into it, wouldn't hurt to give it a try.
|

|
|
|
06-03-2015, 11:56 PM
|
#3 |
|
VIP Member

Join Date: Oct 2013
Location: Gulf Breeze, FL
Posts: 1,651
Likes: 8
Liked 33 Times in 16 Posts
|
You can probably borrow some wheels/tires of both backspacing to test fit. These will be pretty common to find. I really like the '66 body style.
__________________
Rich Taylor I/SA - 321 Last edited by HandOverFist; 06-03-2015 at 11:58 PM. |
|
|
|
|
06-04-2015, 12:26 AM
|
#4 |
|
Member
Join Date: Apr 2014
Location: Mesa, AZ
Posts: 497
Likes: 162
Liked 223 Times in 73 Posts
|
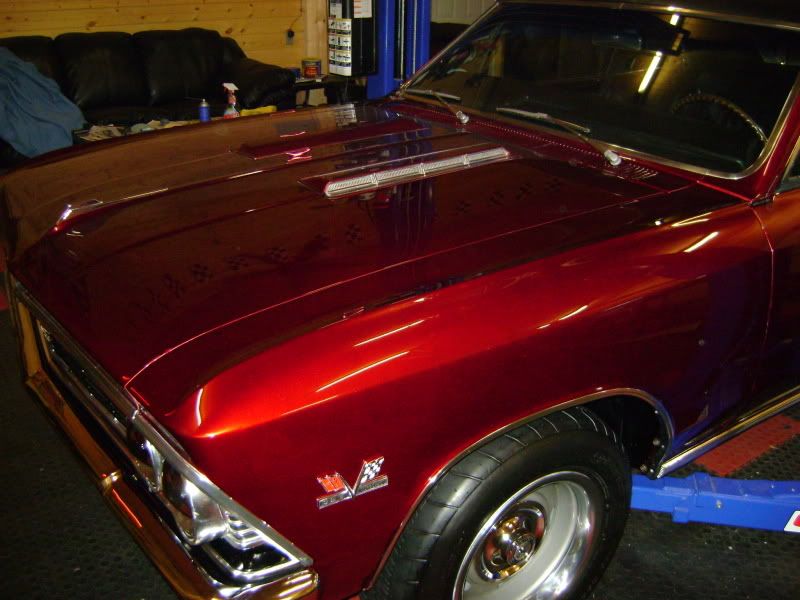
That looks gorgeous!
I have always thought that 66s were the best looking Chevelles. I already have the tires and wheels. I took enough measurements to convince myself that 5.5" backspacing was the way to go. Still don't have the backing plates back, and I won't be verifying the tire clearance until then, but I'm pretty sure it'll work. May or may not take a little persuasion. The fact that the same size works for Mark Faul helped convince me as well. The wheels I used for taking measurements were close to that offset as well. |
|
|
|
|
06-04-2015, 12:42 AM
|
#5 |
|
VIP Member
Join Date: Oct 2013
Location: Gulf Breeze, FL
Posts: 1,651
Likes: 8
Liked 33 Times in 16 Posts
|
If you need backing plates Dave we may have some lying around.
__________________
Rich Taylor I/SA - 321 |
|
|
|
|
06-04-2015, 01:32 AM
|
#6 |
|
Member
Join Date: Apr 2014
Location: Mesa, AZ
Posts: 497
Likes: 162
Liked 223 Times in 73 Posts
|
I have them but they need to have the holes opened up to fit the larger bearings in the axles on the Moser rear. With a little luck I'll have them back Friday.
But I'll keep you in mind if I have something along those lines that comes up. Actually, I am missing the kick panel vent for the right-hand side. The one that's controlled by a knob via cable. The car only came with the left one. But I'm sure I'll track one down somewhere. Last edited by Dave Muller; 06-04-2015 at 01:04 PM. |
|
|
|
|
06-13-2015, 12:29 PM
|
#7 |
|
Member
Join Date: Apr 2014
Location: Mesa, AZ
Posts: 497
Likes: 162
Liked 223 Times in 73 Posts
|
At this point I have the patch panel welded in with one of my usual ugly welds, and I'm most of the way through grinding the welds down. Of course if I were a better welder I'd be done with that now! And damn, MIG welds are hard!
But this morning I test fit the slicks. Later today I'll put the jack under the rear to move the tire up into the wheel well in case that results in a tight spot I haven't seen yet, but so far it looks pretty good. The front bottom corner is a little tight. I am considering trimming that back a bit:  It looks like I'm a bit limited to how much I can lower the rear but I think I'll be okay here too:  Finally the inside looks like about 3/8" minimum clearance. I might consider a very thin spacer to move it out just a bit depending on how the outside looks when I jack up the rear:  I also might have to tweak that body mount behind the tire just a bit, but I suspect that will not be necessary either. Last edited by Dave Muller; 07-09-2017 at 11:55 AM. |
|
|
|
 |
|
|


 Hybrid Mode
